Overview
The CSS Minifier & Beautifier is a dual-mode tool for processing CSS stylesheets. Minify mode compresses CSS for production by removing whitespace and optimizing values. Beautify mode formats compressed CSS into readable, properly indented code. Both modes offer extensive customization through options panels and real-time statistics.
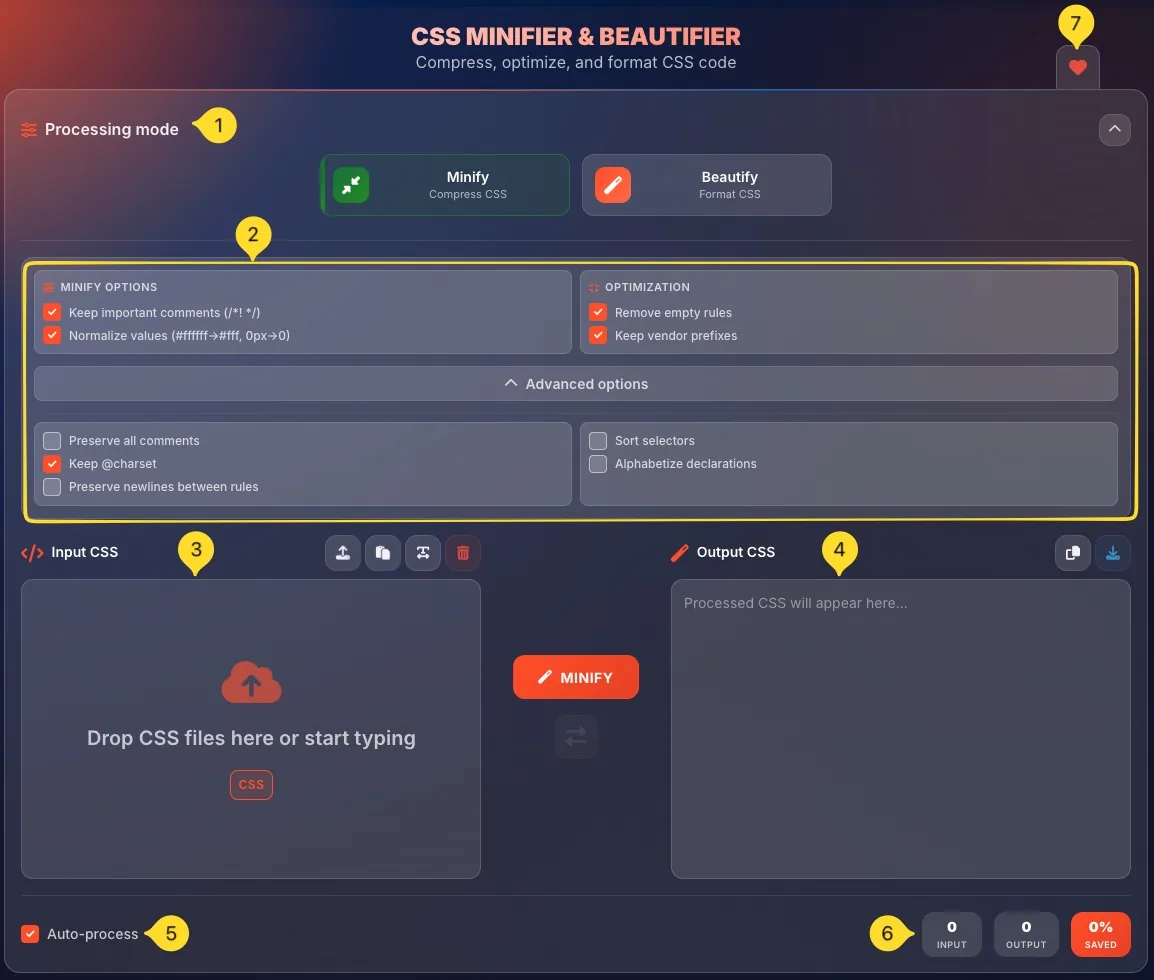
Processing modes
At the top of the interface, you'll find the Processing mode section with two mode buttons. Each mode has different options and produces different output.
Minify mode button
Click Minify (with compress icon) to switch to compression mode. The button shows Compress CSS as its description. When active, the button is highlighted.
Beautify mode button
Click Beautify (with magic wand icon) to switch to formatting mode. The button shows Format CSS as its description. When active, the button is highlighted.
Minify/Beautify options
Each mode shows different options panels below the mode buttons:
• Minify shows: MINIFY OPTIONS + OPTIMIZATION
• Beautify shows: INDENTATION + COMMENTS & ORDER
Both modes have an Advanced options section that expands for more settings.
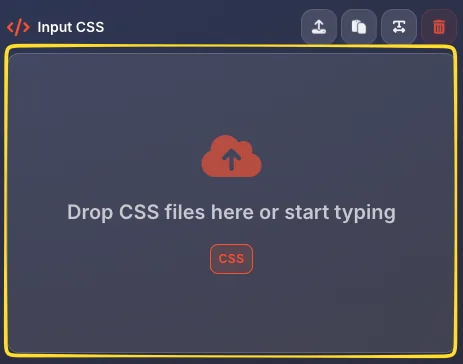
Input CSS
The left panel labeled Input CSS is where you enter or paste your CSS code. You can also drag and drop .css files onto the drop zone, or use the Upload/Paste buttons.
Output CSS
The right panel labeled Output CSS displays the processed result. After minifying or beautifying, your CSS appears here with syntax highlighting.
Auto-process checkbox
At the bottom left, the Auto-process checkbox enables automatic processing as you type or paste. When enabled, you don't need to click the MINIFY/BEAUTIFY button.
Statistics & Favorites
The stats bar at the bottom shows INPUT size, OUTPUT size, and SAVED percentage. On the right edge, find the Favorites tab (heart icon) to add this tool to your favorites.
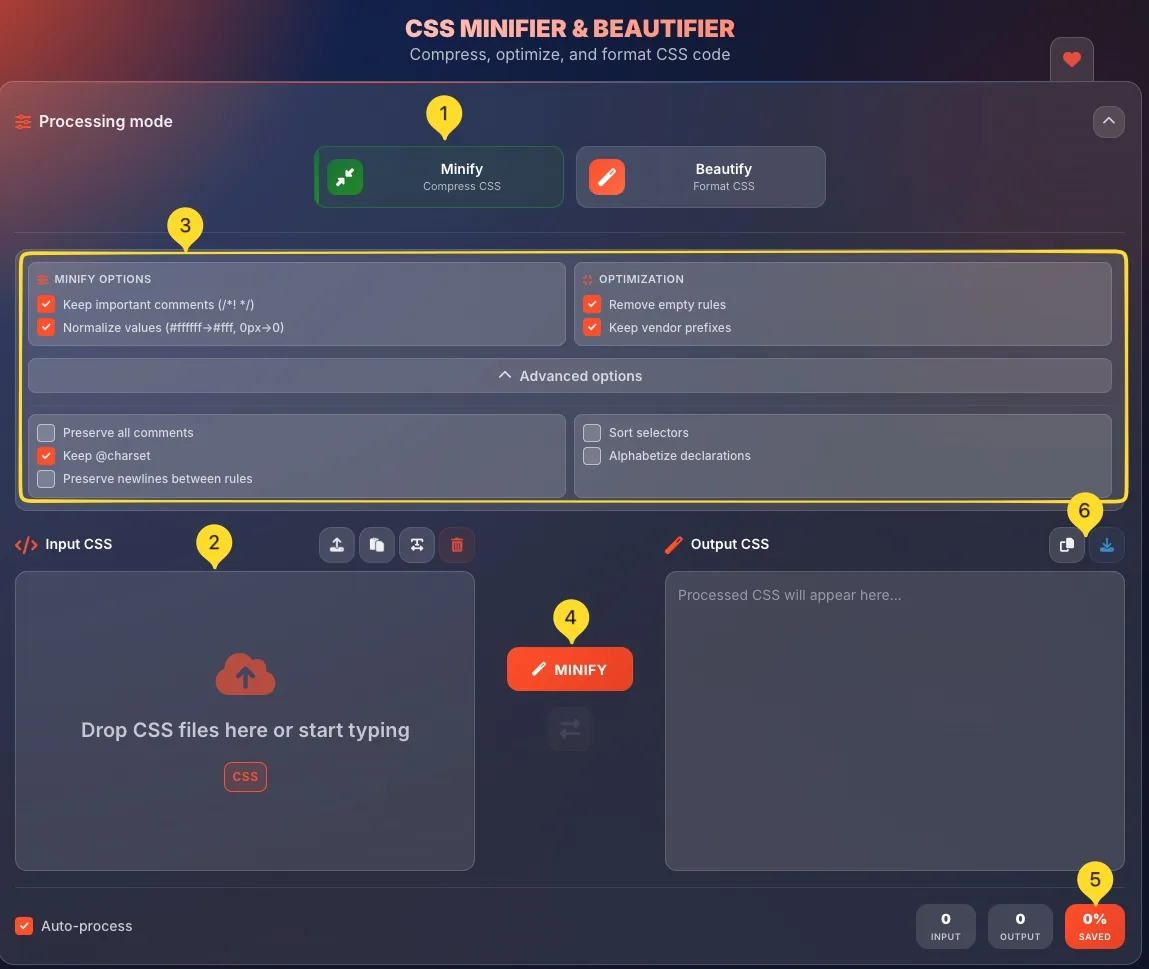
Minify mode Compress CSS
Minify mode compresses your CSS for production use. It removes unnecessary whitespace, optimizes values, and can remove empty rules - all while preserving CSS functionality.
Select Minify mode
Click the Minify button in the Processing mode section. The button is highlighted when active.
Enter your CSS
Paste CSS into the Input CSS panel, or drag and drop a .css file onto the drop zone. You can also click Upload to select a file, or Paste to paste from clipboard.
Configure options
Adjust the MINIFY OPTIONS and OPTIMIZATION panels as needed. Click Advanced options to expand additional settings. These control what gets preserved and removed.
Click MINIFY (or Auto-process)
Click the orange MINIFY button in the center, or enable Auto-process at the bottom to minify automatically when you paste or type. The compressed CSS appears in the Output panel.
Check savings
Look at the SAVED percentage in the stats bar (bottom right). This shows how much smaller your CSS became. Typical savings are 20-50% depending on original formatting.
Copy or download
Click Copy to copy the minified CSS to your clipboard, or Download to save as a .min.css file. The output is ready for production use.
/* Before: 186 bytes */
.button {
    background-color: #ffffff;
    padding: 10px 20px;
    margin: 0px;
    border-radius: 4px;
}

/* After: 73 bytes (61% saved) */
.button{background-color:#fff;padding:10px 20px;margin:0;border-radius:4px}
MINIFY OPTIONS Minify Mode
The MINIFY OPTIONS panel controls which elements are preserved during compression. These checkboxes appear when Minify mode is active.
Keep important comments (/*! */)
When enabled, preserves comments starting with /<em>!. These are typically license headers or critical documentation that shouldn't be removed.
Example: /</em>! Bootstrap v5.0 | MIT License */ stays intact.
Normalize values (#ffffff to #fff, 0px to 0)
When enabled, shortens values where possible:
• #ffffff = #fff
• #aabbcc = #abc
• 0px = 0
• 0.5em = .5em
This produces smaller output without changing visual appearance.

OPTIMIZATION Minify Mode
The OPTIMIZATION panel provides additional compression options that go beyond basic whitespace removal.
Remove empty rules
When enabled, removes CSS rules that have no declarations. For example, .empty { } is completely removed. This cleans up CSS that may have had all properties deleted during editing.
Keep vendor prefixes
When enabled, preserves vendor-specific prefixes like -webkit-, -moz-, -ms-. These are needed for cross-browser compatibility.
Recommended: Keep this enabled unless you're using autoprefixer in your build process.

Minify Advanced options Expandable
Click Advanced options to expand additional minification settings. These provide fine-grained control for specific use cases.
Preserve all comments
When enabled, keeps ALL comments in the output, not just important ones. Use this when you need comments for documentation but still want whitespace removal.
Keep @charset
When enabled, preserves @charset declarations at the start of your CSS. These specify character encoding (e.g., @charset "UTF-8";). Usually safe to keep enabled.
Preserve newlines between rules
When enabled, keeps line breaks between CSS rules while still removing other whitespace. Makes minified CSS slightly more readable without significant size increase.
Sort selectors
When enabled, alphabetically sorts selectors within grouped rules. For example, .z, .a, .m { } becomes .a, .m, .z { }. Helps with consistency and diff comparisons.
Alphabetize declarations
When enabled, sorts CSS properties alphabetically within each rule. { z-index: 1; color: red; } becomes { color: red; z-index: 1; }. Useful for maintaining consistent property order.

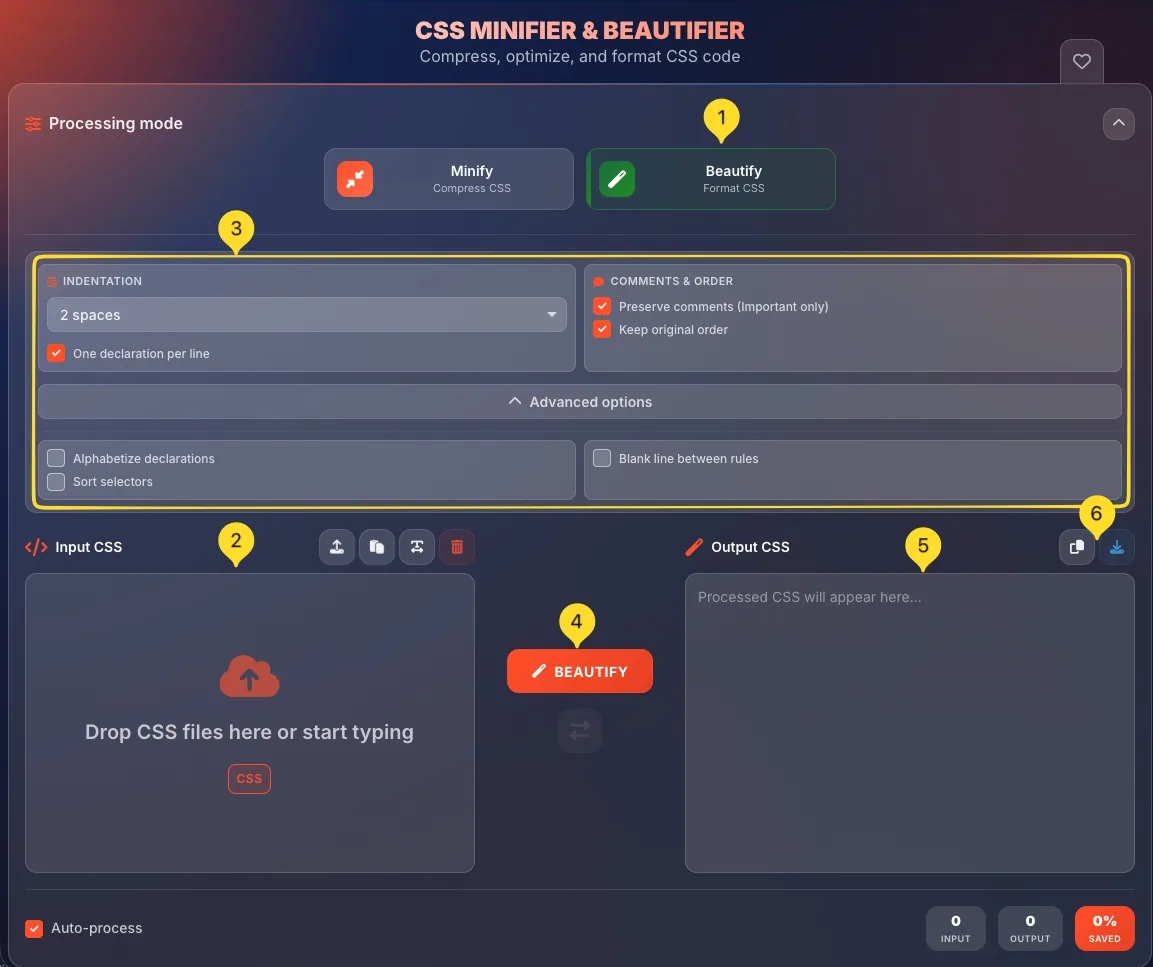
Beautify mode Format CSS
Beautify mode transforms minified or poorly formatted CSS into clean, readable code with proper indentation and line breaks. Essential for editing compressed stylesheets.
Select Beautify mode
Click the Beautify button in the Processing mode section. The button is highlighted when active.
Enter minified CSS
Paste compressed or unformatted CSS into the Input CSS panel. This could be:
• Minified production CSS
• Copy-pasted CSS from browser DevTools
• Poorly formatted legacy code
Configure formatting
Adjust the INDENTATION and COMMENTS & ORDER panels. Choose your preferred indentation style and whether to preserve comments.
Click BEAUTIFY
Click the green BEAUTIFY button. Your CSS is formatted with proper indentation, line breaks, and consistent spacing. Each rule is on its own line.
Check formatted output
Review the Output CSS panel to verify the formatting looks correct. Check that indentation matches your preference and comments are preserved as expected.
Copy or download
Click Copy to copy the beautified CSS to your clipboard, or Download to save as a .css file. It's now ready for editing, debugging, or adding to your source files.
INDENTATION Beautify Mode
The INDENTATION panel controls how your beautified CSS is formatted. These options appear when Beautify mode is active.
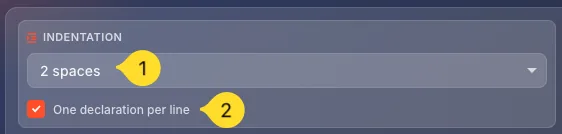
Indentation dropdown
Click the dropdown (default: 2 spaces) to choose indentation style:
• 2 spaces: Compact, common in modern web development
• 4 spaces: More visual separation, traditional style
One declaration per line
When enabled, each CSS property appears on its own line - for example .box { color: red; padding: 10px; } is formatted with one property per line instead of all on one line.
When disabled, multiple properties may share a line. Recommended: Keep enabled for best readability.
COMMENTS & ORDER Beautify Mode
The COMMENTS & ORDER panel controls how comments and rule order are handled during beautification.
Preserve comments (Important only)
When enabled, preserves comments in your CSS.
The "Important only" setting means only /<em>! important comments </em>/ are kept.
Regular /<em> comments </em>/ are removed. Disable to strip all comments.
Keep original order
When enabled, CSS rules stay in their original order. The cascade depends on rule order, so changing order can affect how styles apply. Recommended: Keep enabled to avoid unexpected style changes.

Input & Output panels
The main interface has two side-by-side panels for entering CSS and viewing processed results.
Input CSS panel
The left panel labeled Input CSS (with code brackets icon) is where you enter your CSS. It shows a drop zone with:
• Cloud upload icon
• Text: Drop CSS files here or start typing
• CSS badge indicating file type
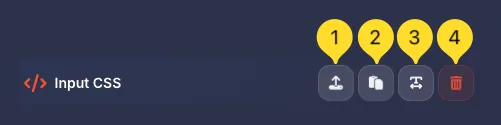
Input action buttons
Above the input panel, find action buttons:
• Upload: Open file picker to load a .css file
• Paste: Paste CSS from clipboard
• Wrap: Toggle line wrapping in the input area
• Clear: Clear the input panel
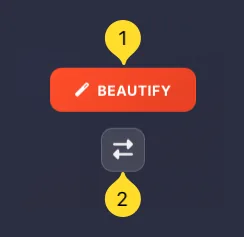
Main action button
Between the panels, the main action button:
• MINIFY: When in Minify mode
• BEAUTIFY: When in Beautify mode
Click to process your CSS, or enable Auto-process for automatic processing.
Swap button
Below the main action button, find a swap icon (two arrows). Click to swap input and output - useful when you want to re-process the result or reverse an operation.
Output CSS panel
The right panel labeled Output CSS (with magic wand icon) shows processed results. Before processing, it shows: Processed CSS will appear here...
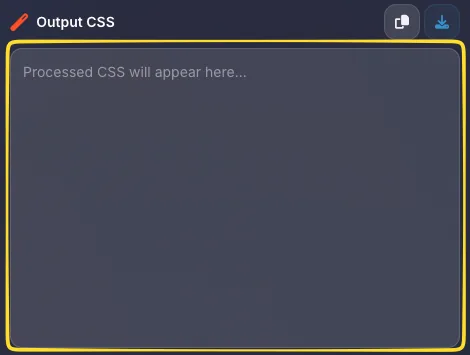
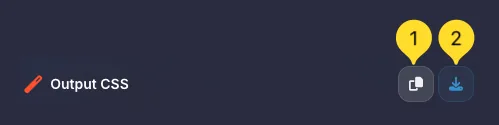
Output action buttons
Above the output panel:
• Copy: Copy processed CSS to clipboard
• Download: Save as .css or .min.css file
Auto-process & Stats bar Real-time
The bottom of the interface provides automatic processing and real-time statistics about your CSS.
Auto-process checkbox
On the bottom left, find the Auto-process checkbox. When enabled:
• CSS is processed automatically as you type or paste
• No need to click the MINIFY/BEAUTIFY button
• Results update in real-time
Disable for large files where you want manual control.
INPUT stat
Shows the size of your input CSS in bytes. Updates as you type or paste. Helps you understand the original file size.
OUTPUT stat
Shows the size of the processed CSS in bytes. Compare with INPUT to see the size difference.
SAVED percentage
Displays the percentage reduction (for Minify) or indicates formatting was applied (for Beautify). For example:
• 45% means the output is 45% smaller than input
• 0% means sizes are equal

What minification does
Here's exactly what gets removed or changed during CSS minification:
Best practices
styles.css (source) = styles.min.css (production). Makes it clear which is which.Frequently asked questions
Example: /! MIT License */. Enable 'Keep important comments' to preserve these.